Honey Oatmeal Bread

oatmeal-top

This recipe came from a favorite source in the 1980s – The Blue Ribbon Gazette, a newsletter with recipes from blue ribbon winners from all over the country.  I won a blue ribbon with this bread at the large Harvest Home Festival (Cincinnati) in 1989.

This is a hearty bread that stays soft for several days and is wonderful toasted or used for a grilled sandwich.

HONEY OATMEAL BREAD

  • Servings: Three 7-1/2 inch loaves or two 9-inch loaves
  • Print

1-½ cups milk
1 cup oats, quick
1 Tblsp. salt
2 Tblsp. canola oil
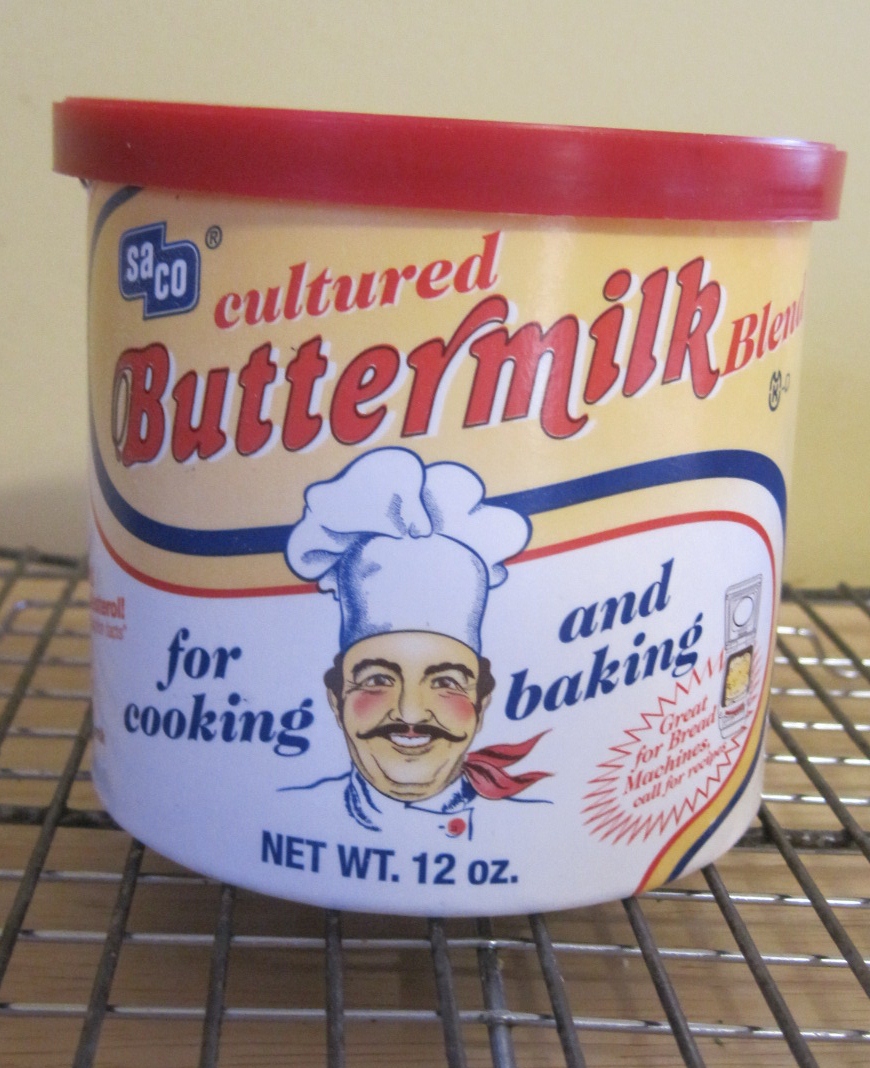
One 13 oz. can evaporated milk, undiluted
¼ cup honey
2 Tblsp. fast acting yeast*
2 cups whole wheat flour
3-4 cups all-purpose flour

**I use Fleischmann’s Instant Dry Yeast. I buy it in bulk (454 g) and the package says that it is made in Canada. I understand it is packaged under the name “Instant Dry” for distribution through stores like Sam’s, “Rapid Rise” in the U.S. and “Quick Rise” in Canada. The “Instant Dry”, “Rapid Rise” or “Quick Rise” yeast is especially formulated to be used mixed with the dry ingredients and can withstand the hot liquid.

Grease three 7-½ inch or two 9-inch loaf pans

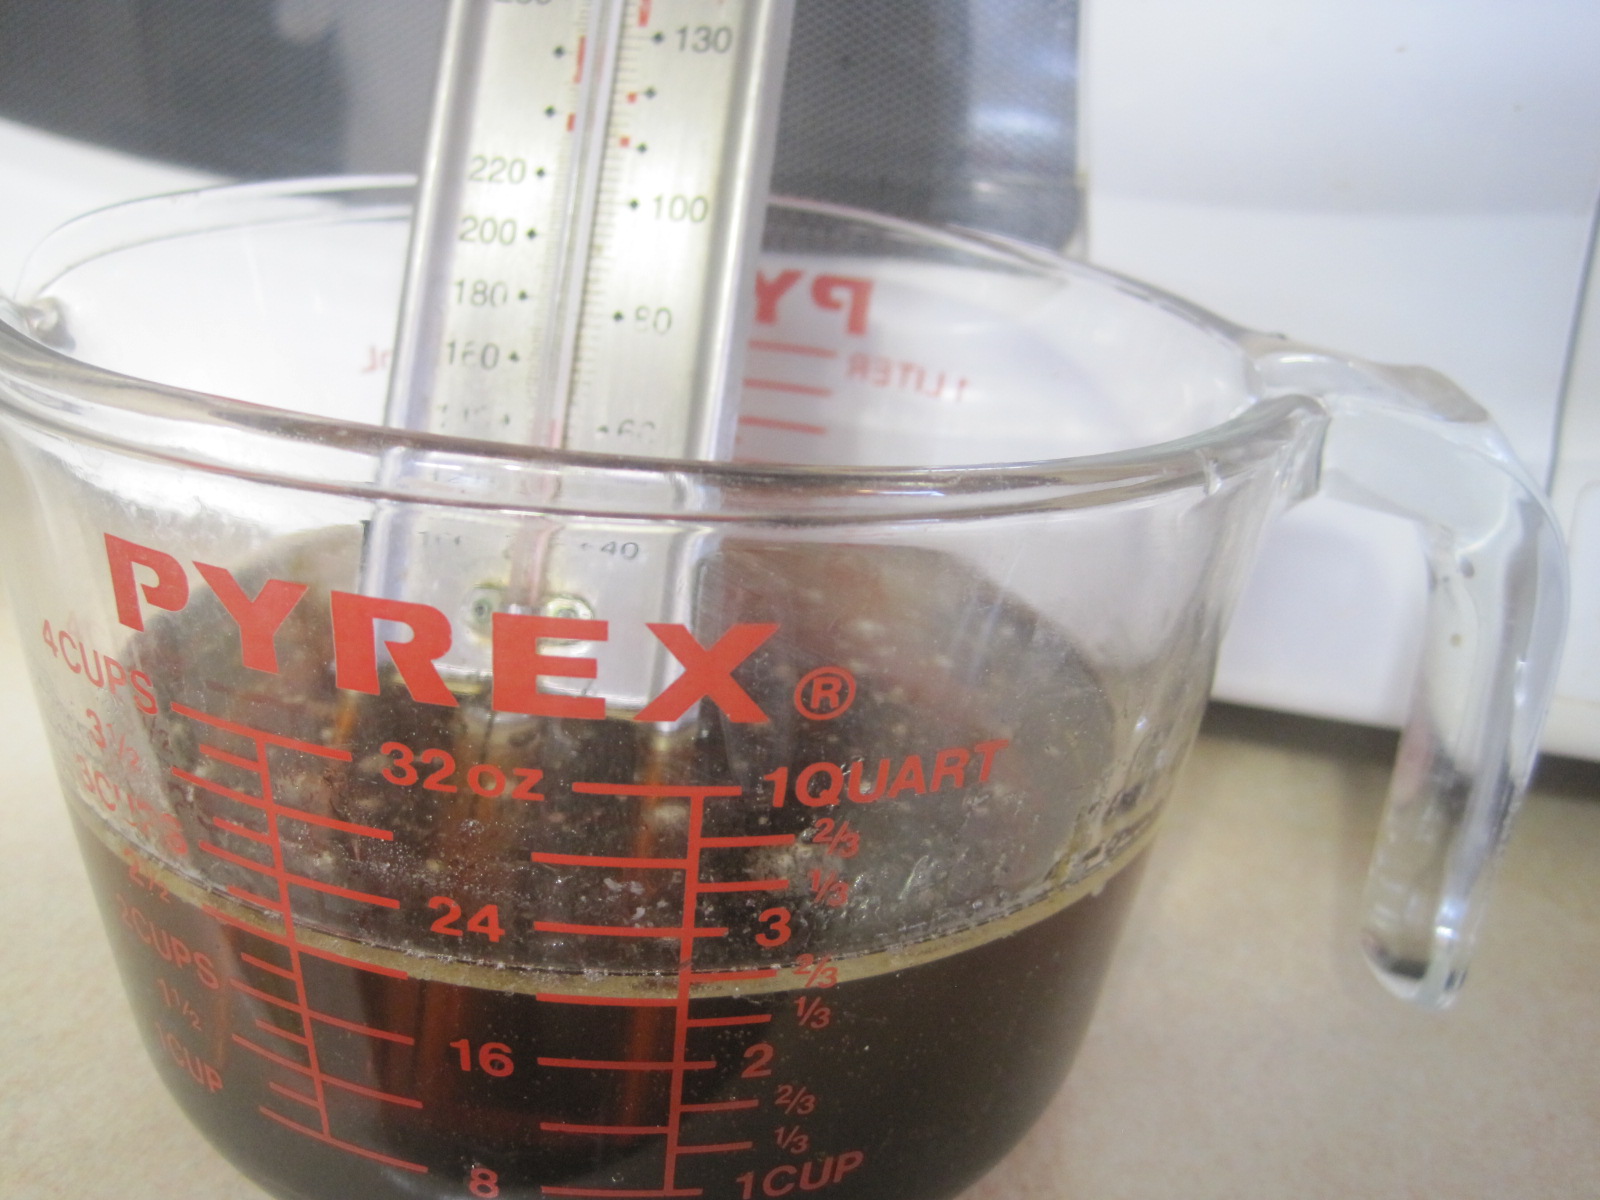
Place 1-½ cups of milk in a pan, bring to a boil.  Add oats and salt and cook for 2 minutes.  Add oil, evaporated milk, honey and salt.  Cool to 130 degrees F. (cooling will take 10-15 minutes).

In the large bowl of an electric mixer, place yeast and 2 cups whole wheat flour.  Beat to blend flour and yeast.  Add 130 degree F milk/honey mixture and beat with paddle beater for 3 minutes on medium speed.

Remove paddle beater and insert dough hook.  Continue to beat for 6-1/2 minutes, adding all-purpose flour a little at a time.   You may not have to use all of the flour – the dough should be smooth and elastic after 6-1/2 minutes. Although a little sticky because of the honey.

Place dough in an oiled bowl, turn dough over once and cover with a napkin or tea towel.  Let rise for 45 minutes in a warm place that is free of drafts (I put mine on top of my microwave which sets under a cabinet).

After 45 minutes, punch down dough (press your knuckles into the dough to deflate it). Remove dough to a lightly floured board and divide into three portions for 7-½ inch loaves or into two portions for 9 inch loaves.  Roll each portion into a loaf, pinch seams to seal and place seam-side-down in a greased 7-½ inch or 9-inch loaf pan.  Cover and let rise for another 45 minutes.

Preheat oven to  350 degrees F.

Bake 7-½ inch loaves for approximately 30-35 minutes and the 9 inch loaves for about 50-60 minutes or until bread is golden brown and has a hollow sound when tapped (200 degrees on a bread thermometer*).

Cover with a piece of foil if top is browning too fast.  Remove bread from pans immediately, cover with a napkin or a tea towel and let cool on a wire rack.

Yield:  Three 7-½ inch loaves or two 9 inch loaves

oatmeal-sl


The First County Fair of the Season

Leb-14-race

My older daughter and I went to our first fair of the season – our Warren County Fair in Lebanon, Ohio.  The day was beautiful with bright, sunny skies and an 80 degree temperature.

I’ve exhibited many times in the past, but this year I left it all to my daughter who entered several needlework, jewelry and crocheted items.  As always, she did well with 7 blue ribbons and 3 second place awards.

Leb-14-N-best

I looked at all of the displays in the large building that housed the needlework, quilting, knitting, sewing, cooking, crafts, etc., exhibits and then found a seat near the racetrack while my daughter went to visit all the animal barns.

I’ve loved harness horses for as long as I can remember and always feel a sense of contentment watching them on the track.

Leb-14-tracj2

I was able to watch three exciting races, close enough to the track to hear the hoof beats, and we started back home, both of us happy with our first fair of the season.

Poppyseed Rye Bread

poppyseed-3
In the 1980s, I started using Saco Buttermilk Powder to make bread and sent away for a collection of recipe cards.  It was a wonderful set of cards and this was one of my early favorites.  I first made the bread in 1986 and rated it “excellent”; in 1987, it won blue ribbons at the Hamilton County and Harvest Home Fairs in Cincinnati and won a 5th place ribbon at the Ohio State Fair.

It’s wonderful toasted and also a great base for a Reuben sandwich.

POPPYSEED RYE BREAD

  • Servings: Two nine-inch or three 7-½ inch loaves
  • Print
  • 2 Tblsp. fast acting yeast*
  • 1/3 cup granulated sugar
  • 1 Tblsp. salt
  • ¼ cup buttermilk powder
  • ¼ cup cocoa
  • 1 Tbsp. caraway seeds
  • 1 Tblsp. poppy seeds
  • 2 cups rye flour
  • ¾ cup whole wheat flour
  • 2 Tblsp. oil
  • ¼ cup molasses
  • 2 cups water
  • 2-½ cups to 3 cups all-purpose flour

*I use Fleischmann’s Instant Dry Yeast. I buy it in bulk (454 g) and the package says that it is made in Canada. I understand it is packaged under the name “Instant Dry” for distribution through stores like Sam’s, “Rapid Rise” in the U.S. and “Quick Rise” in Canada. The “Instant Dry”, “Rapid Rise” or “Quick Rise” yeast is especially formulated to be used mixed with the dry ingredients and can withstand the hot water.

poppyseed1
In the large bowl of an electric mixer, place yeast, sugar, salt, buttermilk powder, cocoa, caraway seeds, poppy seeds, rye flour and whole wheat flour. Insert paddle beater and beat to blend dry ingredients.

In a four-cup measure, place oil, molasses and water.  Heat in the microwave to 130 degrees F.

poppyseed-2

Pour hot mixture into bowl and beat at medium speed for 3 minutes.

Remove paddle beater and insert dough hook.  Continue to beat for 6-1/2 minutes, adding flour a little at a time.   You may not have to use all of the flour – the dough should be smooth and elastic after 6-1/2 minutes.  The dough may feel slightly sticky because of the molasses.

Place dough in an oiled bowl, turn dough over once and cover with a napkin or tea towel.  Let rise for 45 minutes in a warm place that is free of drafts (I put mine on top of my microwave which sets under a cabinet).

After 45 minutes, punch down dough (press your knuckles into the dough to deflate it) and lay it on a lightly floured surface.  Roll the dough and form into two nine-inch or three 7-½ inch loaves. Turn over and pinch the edges to seal.  Place loaves in greased loaf pans.  Cover and let rise for another 30 minutes.
poppyseed4

Preheat oven to 375 degrees F.

Bake for approximately 50-60 minutes for nine-inch loaves, 45 minutes for 7-½ inch loaves or until bread is golden brown and has a hollow sound when tapped (210 degrees on a bread thermometer).  Cover with a piece of foil if top is browning too fast.  Remove bread from pans immediately, brush with butter, cover with a napkin or a tea towel and let cool on a wire rack.

poppyseed-1
Yield:  Two nine-inch or three 7-½ inch loaves


poppyseed2

County Fair Table Topper

In a previous post, I wrote about resurrecting some old decorative art sketches to make pen and ink panels for a tri-stand quilt rack.  That post is here:

https://lillianscupboard.wordpress.com/2012/07/01/july-4th-parade-tri-stand-mini-quilts/

I thought I’d give another favorite sketch a try and made a panel for my larger mini-quilt rack using a design from 1996.  I thought it would be nice to do a crazy-quilt border using actual fair award ribbons.  Although I have a box full of county and state fair ribbons I‘ve won through the years, I didn’t want to cut those up.  Luckily, my daughter found a box of Montgomery County award ribbons (Dayton, Ohio) in an antique mall and I used some of those.

It’s rather ironic that I’m using ribbons from this fair because it was a major event that we attended all the time I was growing up in the 1930s-40s.  I even posted about their big Labor Day Fair here:

https://lillianscupboard.wordpress.com/2011/09/05/labor-day-in-the-1930s-40s/

I added strip borders and quilted in gold thread to match the lettering on the ribbons…

…and a sleeve, label and binding.

Back in 1996, I had made several wood projects with this design to sell in our craft mall booth.  It was like meeting an old friend again after all these years.

Click on pictures to enlarge.

Best of Show Chocolate Zucchini Bread

I started making zucchini dishes in 1982 when my husband, 12-year-old daughter and I were living in Blue Jay, Ohio, on the Indiana border.  We had two acres which my husband had filled with every kind of plant, tree and bush that would produce something edible – barely leaving room for a small house in the center.  He loved to grow zucchini because he was rewarded with basket after basket of them and as a novice country dweller, I tried to make use of every single piece of fruit or vegetable he brought in the house.

By 1987, I had tried a lot of zucchini recipes and was looking for something different to take to our Hamilton County Fair (Cincinnati).  I decided to take a favorite recipe from the Bear Wallow Zucchini cookbook and change it from a spicy zucchini bread to a chocolate one.  The bread not only won the blue ribbon at the fair, but also won the Best of Show rosette.  It’s a delicious zucchini treat.

BEST OF SHOW CHOCOLATE ZUCCHINI BREAD

  • Servings: Two 9-inch loaves OR two 7-1/2-inch loaves plus one 5x2-inch loaf OR six 5x2-inch loaves and one 7-1/2-inch loaf
  • Print

  • 3 eggs
  • ¼ cup cocoa
  • 1 cup vegetable oil
  • 1-¾ cup granulated sugar
  • 3 tsp. vanilla
  • 2 cups grated zucchini (unpeeled)
  • 2 cups all-purpose flour
  • 1 tsp. soda
  • 1 tsp. salt
  • 1 cup chopped toasted walnuts

Preheat oven to 350 degrees F.
Grease and flour loaf pans of your choice

In a large mixing bowl, whisk eggs; add cocoa and whisk until smooth.  Whisk in oil, sugar and vanilla.

Stir in zucchini.

In a medium bowl, sift together the flour, soda and salt.  Stir into zucchini mixture.  Stir in walnuts.

Pour into greased/floured pans, filling about 3/4 full, and bake @ 350 degrees F.

Loaves are done when a tester inserted in the center of a loaf comes out clean

  • Two 9×5 loaves – bake for approximately one hour
  • Two 7-1/2×3-¾ loaves and one 5×2-1/2 mini-loaf  – bake for approximately 50 minutes (check mini-loaf at 35 minutes).
  • Six 5×2-1/2 mini-loaves and one 7-1/2×3-¾ loaf for approximately 50 minutes (check mini-loaves at 35 minutes).

Allow bread to cool in pans for 5 minutes, then remove to cool completely on a rack. 

This is one quick bread that could easily be a dessert.  It’s rich, chocolatey, moist and full of crunchy nuts.  But the most important thing to me in 1987 was that it used 2 cups of zucchini.

My picture was taken for the fair’s publication, “The 132nd Annual Hamilton County Fair Salutes its 1987 Best of Show Winners”.  (I had won Best of Show with three different items that year.)


Fresh Corn-Zucchini (Squash) Relish

corn
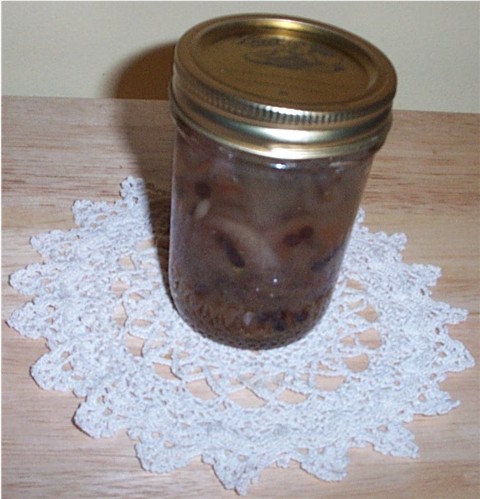
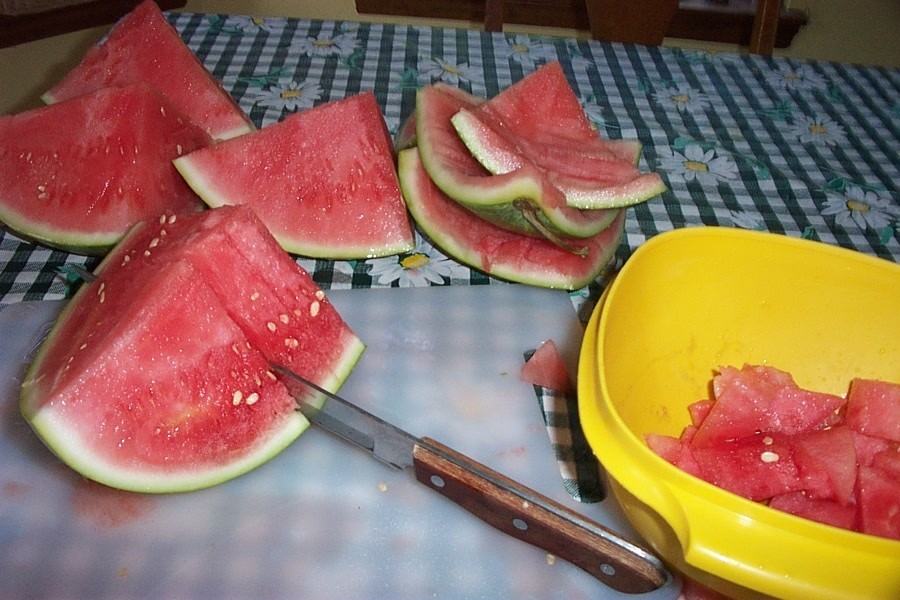
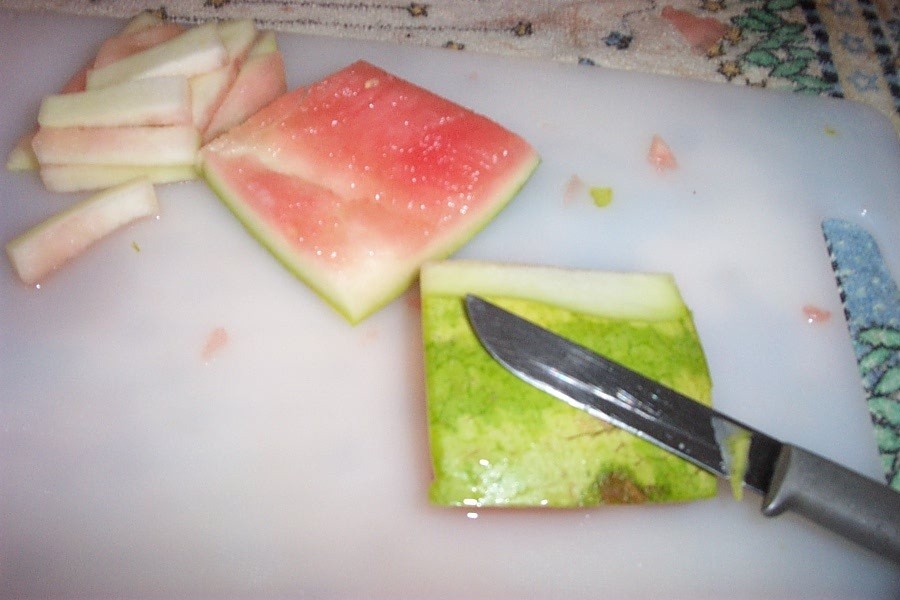
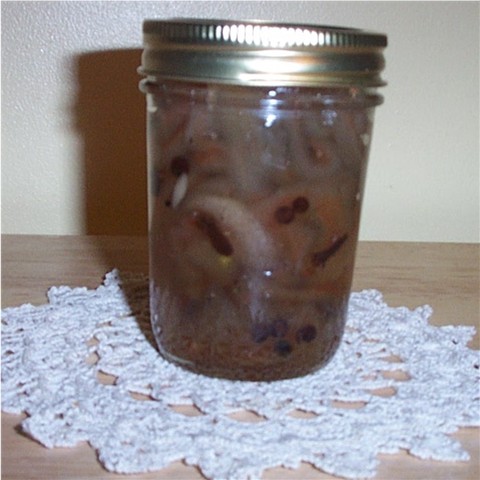
Over twenty years ago when my husband and I lived in rural Ohio on the Indiana border with a huge vegetable garden, I tried a lot of recipes to deal with the surplus produce.  In 1985, I found this recipe for Fresh Corn Zucchini (or Yellow Summer Squash) Relish in a cookbook called, “Seasoned with Sunshine”.  I made it on July 21 and the next week entered it in our Hamilton County Fair (Cincinnati).  It won a blue ribbon and became a family favorite.

Since I’m by myself now in a small bungalow with no garden, I pick up produce at the farmer’s market and make one quart of the relish.

  • Servings: 1 quart (2 pints)
  • Print

  • 2 cups fresh corn, cut from cob
  • 3/4 cup onion, finely chopped
  • 1/2 cup red bell pepper, finely chopped
  • 1/2 cup green bell pepper, finely chopped
  • 1 cup apple cider vinegar
  • 3/4 cup granulated sugar
  • 2 tsp. pickling salt
  • 1/2 tsp. celery salt
  • 1/2 tsp. turmeric
  • 1/2 tsp. mustard seed
  • 1/4 tsp. dry mustard
  • 2 cups zucchini or yellow summer squash, unpeeled, sliced 1/4″ thick (cut larger diameter slices in half)

squashbwl2
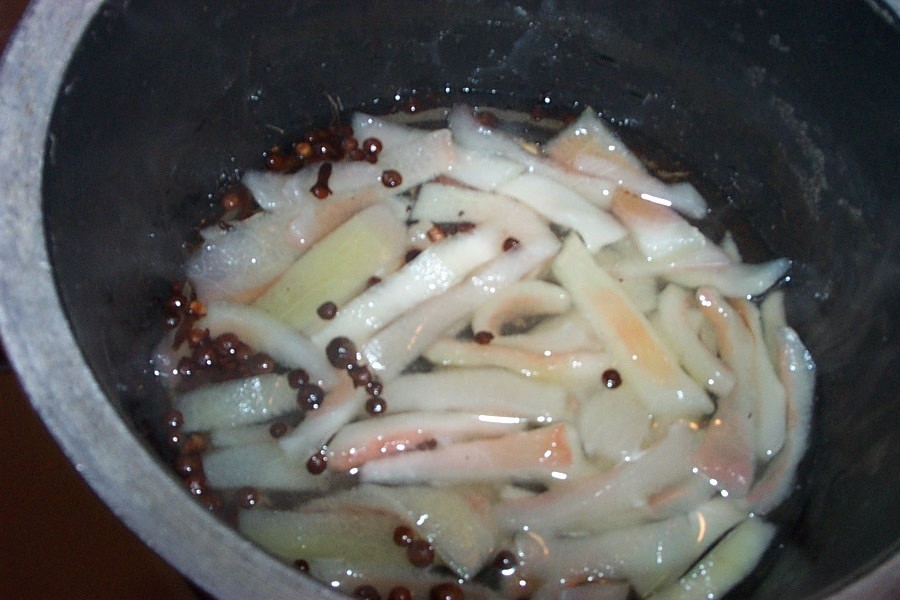
In a large pot, combine all ingredients EXCEPT ZUCCHINI/YELLOW SQUASH.  Bring to a boil over medium heat, then reduce heat to low and simmer uncovered for 20 minutes, stirring occasionally.

first

Add zucchini/squash slices and simmer uncovered on low heat for 20 minutes longer, stirring occasionally.

zucch

Spoon relish into sterilized jars – one quart or two pint jars.  Relish can be kept in the refrigerator for use within a month or so, or processed in a boiling water bath for 20 minutes for longer storage. 

funnel

2jars

I could refrigerate the two pint jars for my own use, or even more fun, keep one jar and make up the second one for a neighbor.  It’s easy to dress up the giveaway jar with a circle of fabric placed between the jar cap and lid.  Yes, I think I like that idea best.  Now, which of my neighbors would enjoy some relish today?

topper

Apricot Cheese Dainties

I found this recipe in 1990 in a publication called Blue Ribbon Gazette, a collection of winners from county and state fairs all over the country.  The lady who submitted the recipe cautioned that Solo apricot filling should be used, not jam or preserves, to keep the filling from seeping out too much.  I can attest to that, since I tried other products and found Solo to be the best.

The cookies won a ribbon at the Ohio State Fair and a Blue Ribbon at the Hamilton County Fair (Cincinnati) in 1990, and have become a favorite of my daughters for every holiday – Christmas, St. Nick, Valentine’s Day, birthdays.

APRICOT CHEESE DAINTIES

  • Servings: 1-1/2 dozen cookies
  • Print

  • 1/2 cup margarine (I like Imperial)
  • 1 cup grated sharp cheddar cheese
  • 1-1/2 cups all-purpose flour
  • 1/4 tsp. salt
  • 2 Tblsp. ice water
  • 1/2 can of Solo Apricot Filling

Preheat oven to 375 degrees F.

Cream the margarine and cheese until smooth.  Add flour and salt, mix together until blended.  Add water and stir with a fork until the mixture forms a ball.  Divide dough in half,  roll one portion 1/8″ thick (like pie crust) on a lightly floured surface and cut with a floured 2″ cutter.

cutterPlace cutouts on an ungreased cookie sheet.  Place 1/2 tsp. of apricot filling on each circle of dough.

fillingRoll the remaining portion of dough 1/8″ thick and cut into 2″ circles.  Place the circles on top of the filled cutouts, press together lightly and prick with a fork around the edges.

Bake @ 375 degrees F for approximately 10 minutes until cookies are golden brown.  Cool slightly and then remove to a rack.

rack

Makes about 1-1/2 dozen cookies. 

Note:  These cookies are like pie – best the day they are made.

apricotcheese

Mom’s Blue Ribbon Watermelon Pickles

I once heard Garrison Keillor say something to the effect that the only purpose for watermelon pickles was to have an item on the Thanksgiving table that you could pass up.  When I was a child at my Grandmothers’ or Great-Aunt’s tables, the very things I looked forward to were corn relish, picallili and watermelon pickles.

I was a late-comer to canning and preserving.  My mother never attempted it and I was 50 before I found myself in a country home with a big garden and a lot of produce to use up.  Once I got started, I enjoyed canning so much that I spent the entire summer “putting up” everything my husband brought into the kitchen in his oversized basket.  We never grew watermelon but I bought a good Indiana melon each summer at the farmer’s market and made these pickles in quantity.  Now that I’m alone, I make up one small jar so I can have something on the Thanksgiving table for people to pass on.  This recipe won a Blue Ribbon at the Hamilton County Fair (Cincinnati) in 1983.

MOM'S BLUE RIBBON WATERMELON PICKLES

  • Servings: Makes one cup
  • Print

  • 3 cups of watermelon rind, prepared*
  • 1 cup cold tap water
  • 3/4 Tblsp. pickling salt

Brine:

  • 1 tsp. whole cloves
  • 1 tsp. whole allspice
  • One 2″ piece of cinnamon stick
  • 1/2 cup water
  • 1/2 cup white vinegar
  • 1/2 cup plus 2 Tblsp. granulated sugar

*To prepare watermelon rind:

I used a medium sized seedless watermelon.  This melon had a thin rind.  Big old-fashioned black-seeded melons have a very thick rind and may need a longer cooking time.  The very small melons don’t have enough rind to use in this recipe.

Cut the melon in sections and cube the watermelon to set aside for some good eating.  Don’t cut too closely to the white portion of the rind.

Trim off the green rind and scrape the watermelon off the white section.  I cut my melon in matchstick strips about 1/2″ wide.

Place the rind strips in a non-metal container, cover with water and add salt.  Soak overnight.

The next morning, drain the rind, cover with fresh water and cook approximately 30 minutes at medium heat until almost tender.  Add water if needed.  Drain.

In a large pan, place the allspice, cloves, cinnamon, white vinegar, water and sugar and bring to a boil.  Add the drained rind and simmer gently for about 45 minutes.  The brine should be syrupy and cover the rind with a little to spare.

Remove the cinnamon stick and pour pickles into a sterilized 1/2 pint jar and cap.

Process in a boiling water bath for 5 minutes. I’ve found an asparagus steamer is good for processing just a jar or two.   Let jar cool on a rack before storing. Allow pickles to cure for at least a week before using for best flavor. 

This is a good web site for information on canning and preserving foods.

The Pie Contest

I didn’t want to enter the county fair pie contest at all.  My experience with pie baking consisted of old-fashioned pies for Sundays and holidays – nothing that was worthy of a contest.  But my oldest daughter insisted and so I got up early on a hot August morning in 1983 to bake a pie for the Hamilton County Fair (Cincinnati, Ohio).  I had a lot of fresh blackberries we had picked in the wild bramble area behind the house and some green apples from the trees in the front yard.  It sounded like a good combination and I baked the pie.  I felt a little dismayed when I saw the juices had bubbled out of the top crust as usual, but cooled the pie, wrapped it in foil and started out for the fairgrounds.

Contest entries were flowing in by the time we got there.  It was an open class contest so there was every conceivable kind of pie – apple, strawberry rhubarb, blueberry, lemon meringue, chocolate cream, a fancy strawberry pie with mint leaf garnish – I was starting to get a little worried.  I didn’t want to embarrass myself with such a low-key entry.  I was only hoping for one of the runner-up baskets of apples with no thought of winning a ribbon.  The pies were being arranged on large tables set end-to-end and at one point I almost went over and removed my entry but my daughter insisted on going through with the ordeal.

It was an interesting experience watching the entrants and their supporters, the judges, the passers by – all in intense heat in an antique building with windows open and an occasional swishing electric fan.  There were 34 entries in all, each one lovely and surrounding my very ordinary-looking pie.  Finally, after about an hour and a half, the winners were announced, beginning with the runners-up – no basket of apples for me.  Then the third place was announced and the second – I was almost relieved that it was finally over – when I heard the blue-ribbon, Best of Show winner called – BLACKBERRY APPLE PIE!  I was astounded and went to the contest director to ask if there could be a mistake.  I couldn’t believe that a Sunday dinner pie had won this contest.

I had my picture taken for the newspaper holding my pie and blue ribbon in one hand and the Best of Show rosette and an engraved brass tray in the other.

Then, my daughter and I got to carry all this plus a half-bushel of apples through a very crowded Saturday afternoon fairgrounds midway to the parking lot.

I entered this pie in a lot of other contests after that and it always won for me, but I never again had the thrill that I had that hot August day when I WON THE PIE CONTEST!

BLACKBERRY APPLE PIE

  • Pastry for two-crust 9″ pie (See recipe here)
  • 3 cups blackberries
  • 1 cup peeled & thinly sliced green apple
  • 3 Tblsp. quick-cooking tapioca
  • pinch of salt
  • 1 cup sugar
  • 1/2 tsp. cinnamon
  • 2 Tblsp. butter
  • 1 Tblsp. milk
  • 1 Tblsp. sugar mixed with 1/8 tsp. cinnamon for topping

Preheat oven to 375 degrees F

In large bowl combine berries, apples, tapioca, 1 cup sugar, and 1/2 tsp. cinnamon.  Mix well and allow to set while preparing pastry.

Turn berry mixture in a pastry-lined 9″ pan.  Dot with butter, adjust top crust, cut vents and flute edges.  Brush top with milk and lightly sprinkle with sugar/cinnamon mixture.  Set pie pan on a larger flat pan to catch spills.

Bake @ 375 degrees F for 45-50 minutes.  Cool on a wire rack. 

A remake of the pie some years later with the coveted rosette.

Blue Ribbon Zucchini Marmalade

For 20 years, we lived in a rural area where my husband delighted in tending a huge vegetable garden.  He liked to grow zucchini because he got such great results.  Prior to moving to the country, I had cooked zucchini once when I was in my 30s because a kind Italian neighbor lady had given me some and raved about how good it was.  I wish I could have told her how much experience I got later in life with her favorite vegetable.

Trying to keep up with the zucchini my husband brought into the kitchen daily, I fixed it every conceivable way.  My sister-in-law from Somerset, Kentucky, gave me this recipe for using SIX CUPS of the stuff, so I made several batches.

MOCK ZUCCHINI MARMALADE

  • Servings: 8 half-pint jars
  • Print

  • 6 cups peeled, seeded, chopped zucchini
  • 6 cups granulated sugar
  • 1/2 cup lemon juice
  • 1 cup crushed pineapple, drained
  • 6 oz. package Jello (I used banana-strawberry)

Combine zucchini, sugar and lemon juice in large pan.  Bring to boil and let boil for 15 minutes, stirring occasionally.  After 15 minutes of boiling time, add the drained pineapple, bring to a boil and boil for 6 more minutes.

Remove from heat and stir in Jello.  Place in sterilized half-pint jars, cap and process in a boiling water bath for 5 minutes.  Let cool on a rack before storing.

Makes eight half-pint jars.

This is a good web site for information on canning and preserving foods.

We all enoyed the “marmalade” and I decided to enter it in the Hamilton County (Cincinnati) Fair in 1984.  I was thrilled and surprised when it won not only the Blue Ribbon, but the Best of Show Rosette.